Oblique jacket

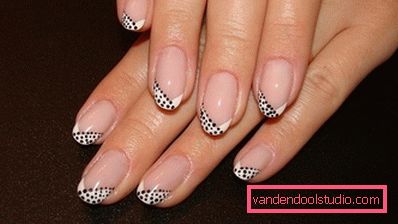
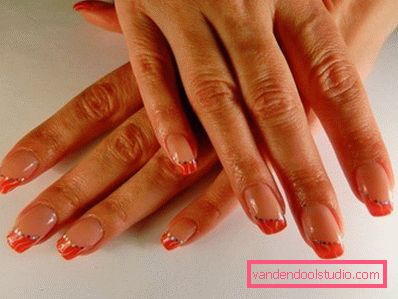
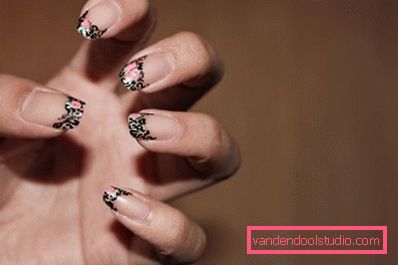
If you are a little bit tired of the classic version of the jacket, then it's time to try something new - oblique French manicure. The slanting jacket is a kind of French manicure that girls love so much for its aesthetics and versatility. The difference between the “oblique variation” and the traditional one is that the “smile line” on the nail plate is slightly beveled to one side, it is held straight or with a bend. On how to do at home such a manicure yourself, you will learn from this article. Let us consider in stages the technology of creating design on nails in the style of "art-french obliquely."
What should you have at hand to create an oblique art french?
- special brush;
- rhinestones of any color you like, size from SS5 (1.5mm), SS6 (2mm), SS8 (2.5mm), SS10 (3mm) to larger ones;
- clear basecoat or plain clearcoat;
- white enamel for painting or acrylic paint;
- silver lacquer or silver acrylic paint;
- nail fixer.

Step by step instructions for creating a design on the nails
The first stage - the main
- After processing the nail plate and giving it the desired shape, you should apply a colorless base coat in one layer. Even if there are not stained places, then there is nothing to worry about, as the fixer will correct the situation at the end of the work. Thus, all the nails should be covered with a clear varnish, it takes no more than 5 minutes to dry the background coating.
- Then on the background layer it is necessary to draw a continuous strip with an incandescent white varnish, connecting one edge of the nail plate with another (straight or curved line). It’s difficult to make a line smoothly and neatly to oneself, without having the skills honed by time, so you can use acrylic paint and a thin manicure brush.
- In order for the oblique or lateral french on the nails to have a more finished look, the tip is completely painted white, trying not to go beyond the “smile line”. In addition, it is necessary to ensure that the oblique french jacket near the side roller has beautiful and well-painted corners.

The second stage - festive design
To give our design some sophistication and a festive look, we will try to slightly complicate the design of the nails at the expense of rhinestones.
- When the white enamel dries, we begin to make out a side jacket with additional design elements. Using silver lacquer, as well as nail brush number 0 (or 00), draw a line along the border with white lacquer or directly along the painted part of the nail, strictly along the center and along the border of the “smile line”. You can increase the thickness of the line as it approaches the opposite corner of the nail.
- Oblique French manicure will look even more interesting if you decorate the nails with small rhinestones. Pebbles can be placed either along the “smile line” in one row or in several, or only at the corners. Use plain rhinestones for a diamond, or choose those that will be in harmony with your outfit or other details of the image. Rhinestones fix with a special glue or clear varnish. It is enough just to put a small drop in the right place, and on it “plant” a rhinestone. The arrangement of pebbles can be very diverse: a line, triangles, curves, or the like of a floral pattern. Fantasy will always tell you interesting options.
- The last step is to fix the result. After all the layers have dried, the nail plate must be covered with a fixative or usual transparent varnish. Oblique french on the nails will last much longer. You can do this beauty with your own hands, without leaving your home and just observing this instruction.
