Nail modeling
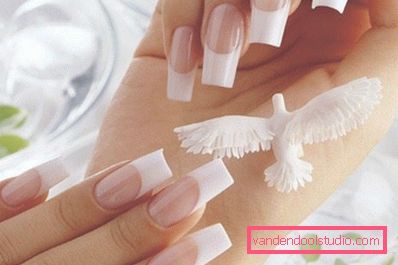
The hands of the girl - one of its main charms. Well-groomed, neat, beautiful hands can say a lot about the taste and elegance of the fair sex. That is why a good manicure is an integral part of a decent female image. There are many ways to maintain the beauty of the hands, but, of course, nail modeling has become the leading assistant for the ladies in this business. What it is? What are the nail modeling technologies? Is it possible to do this at home? All this you will learn when reading this article.
What is nail modeling?
Nail modeling is artificially giving the nails the desired length and shape. A special material is applied to the nail, which in its chemical composition resembles a substance for dental prosthetics in dentistry.
Girls all over the world resort to this service, since this is one of the most reliable ways to make marigolds stronger, the right length, with the necessary elements of decor. But, having decided on such a procedure, you must remember that the artificial beauty hides the sufferings of your natural nail plates. They subsequently require a long recovery, because after removing the nail cover, exfoliate and break.
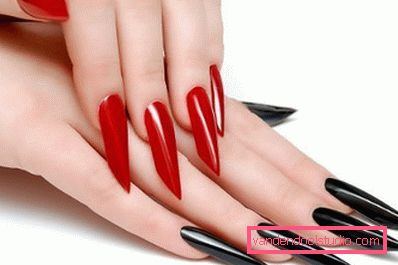
Is it possible to make a simulation to myself?
In the desire to save on the masters of nail art or just to try yourself in a new creative business, many girls are engaged in building and designing nails on their own. Is it possible? Full
But still, we advise you to seek help from professionals or at least take special nail modeling courses. The fact is that this process is rather cumbersome, requiring special knowledge and high concentration. Even the most detailed instructions and video will not be able to fully explain to you all the subtleties of the procedure, and yet carelessness can lead to serious damage to the nail bed.
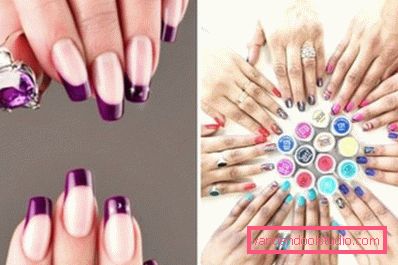
Nail modeling technology
The form of building out two main classifications:
- Buildup on forms;
- Building on tips.
On the materials used, there are two methods for modeling nails:
- Gel nail modeling;
- Acrylic nail modeling.
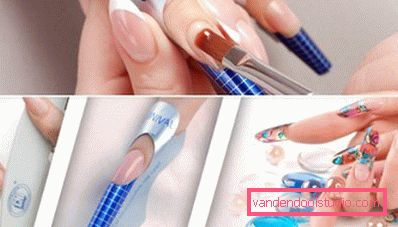
Forms and tips for nail modeling
Forms are some patterns that have gradation applied for more convenient modeling. Their convenience is that they allow you to create any shape and length, depending on the individual characteristics of your marigold. This method is suitable for people with flat wide plates and with plates bent down.
Tips are tips made from special plastic that mimic natural marigolds. They involve working with a ready-made base, so you need to approach their choice with heightened care. Tips will be good for people with flat narrow plates, trapezoid shaped nails and damaged, broken and bitten plates. If you are the owner of a universal almond-shaped or oval shape, then both technologies will suit you.
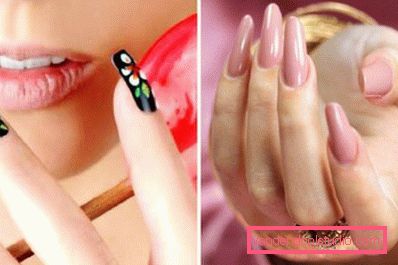
Gel nail modeling
Advantages of gel modeling:
- The coating is more radiant or brilliant;
- There is no unpleasant smell of chemistry;
- Gives a smaller percentage of shrinkage.
Disadvantages of gel nail modeling:
- If the manicure is damaged, the coating will have to be completely removed and rebuilt, because it cannot be restored;
- The gel layer cannot be removed by yourself - it is cut down with special devices in beauty salons (at the same time, natural nails are badly injured);
- This type of manicure is more fragile than acrylic nail modeling;
- Gel Polish looks less natural than acrylic, because its layer is thicker.
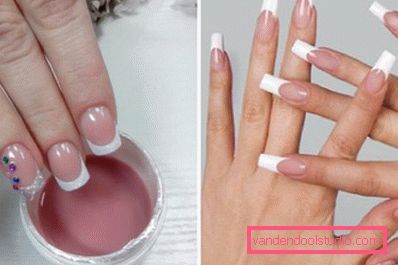
Types of gel extensions:
- Single phase: the nail is covered with a single layer;
- Two-phase: first, a protective coating is applied, for example, gel-lacquer, and then - the main one;
- Three-phase: the coating is placed in three layers, each of which is exposed to ultraviolet radiation. This technology makes the manicure very durable and long-term.
Nail care with gel modeling:
- Do not subject to sudden changes in temperature (from severe frosts can crack);
- Do not expose to external chemical factors (dishwashing detergents, washing powders, etc.) - do everything in rubber gloves;
- Keep hands away from open flame, as gel - flammable substance;
- Do not use metal files for correction.
Acrylic nail modeling
The advantages of using acrylic for building:
- The coating is thinner, so the nail looks more natural;
- Acrylic manicure is easier to remove: it is enough to lower the fingers into a special solution, and the artificial layer will disappear without cutting it;
- Acrylic is stronger, so you can do it without worrying about your household chores;
- Easily tolerates low temperatures.
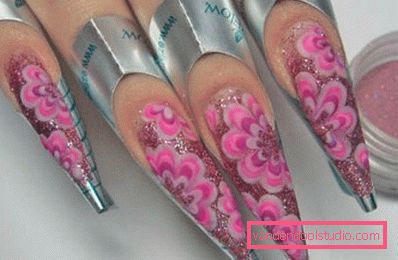
Disadvantages of acrylic modeling:
- Pretty persistent unpleasant smell;
- There is a chance of an allergic reaction;
- After removal, the natural luster of the plate may disappear.
Care for manicure with acrylic coating:
- Timely correction;
- Despite the strength of acrylic, strong blows can damage the manicure, so be careful;
- Before applying colored lacquer to cover the nail base;
- Use an acetone free nail polish remover.
Nail modeling materials
One of the most difficult things in the entire process of nail extension is the search and purchase of materials. For high-quality manicure they will need a lot.
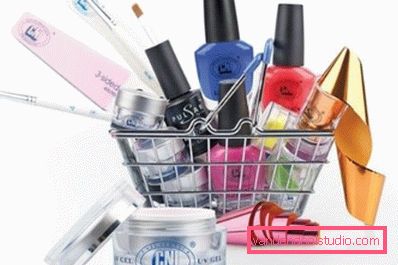
- Forms for modeling nails (forms or tips, depending on what technology you like);
- Gel or acrylic (based on your preferences);
- Dehydrant (degreaser) - needed to remove excess moisture and excess fat from the plates and fingers;
- Primer - a substance that provides good adhesion of the natural surface of the marigold with the applied material;
- If you chose acrylic as a material, you will need powder and liquid;
- Kit for removing cuticle (oil, tweezers, etc.);
- Nail brushes - needed for direct design work (removing patterns, drawings, etc.);
- Decorative elements (rhinestones, varnishes, decorative foil - all at your discretion);
- Different abrasive saws;
- If you decide to use the gel for modeling, then you will need UV lamps.
Arched nail modeling with gel - step by step scheme
It is impossible to describe all methods of building and design in one article. Therefore, we offer you the instruction of only the most popular of them, where gel (or gel varnish) will act as a material. Details you can see on the attached video. Phased Instruction:
- Saw off the free edge of the plate to 1.5-2 millimeters;
- To polish a nail that natural gloss was gone;
- Degrease with a dehydrant;
- When the degreaser is dry, coat the plates with a primer;
- Apply the first layer of gel is very thin. Make sure that it does not get on the skin and cuticle;
- Dry marigolds under ultraviolet lamps for 2.5 minutes (specify in the instructions for the gel);
- Cut the form to fit the marigold, and set on it;
- The bend of the form should coincide as much as possible with the smile line, otherwise the overall balance will be disturbed;
- Make a thin gel backing on the stress part (border of the natural marigold edge and shape);
- Dry under ultraviolet light, and then remove the dispersion layer;
- Apply a camouflage layer of the gel so that most of it falls on the stress zone, in the middle was the thickest layer, and at the edges - the thinnest;
- Dry for 7-10 minutes under an ultraviolet lamp (specify the exact time in the instructions for the gel);
- Remove the sticky layer of the gel;
- Using a nail file, saw off the smile line;
- Apply a base layer of gel to the free edge, spreading it as thin as possible. If you are planning a French manicure, then at this stage it is time to work with white gel;
- Dry the result for about 1.5 minutes;
- Remove the form;
- Fix the nails with a special vice. This will create the desired silhouette;
- Dry under the lamp for 3-5 minutes;
- After 5 minutes, remove these clips and correct the shape with a nail file;
- Cover the plates with a fixing gel polish;
- Dry under ultraviolet light for 1.5-2 minutes.
Be creative, you will succeed!