Gel-nails nail extension on tips and forms

What woman does not dream of beautiful long nails from nature? Everyone dreams! But, alas, Mother Nature has all her plans. To help all women have invented such an interesting procedure as gel nail extension. This manipulation helps each representative of the fair sex to become a happy owner of neat, well-groomed and feminine fingers, since it is the marigold that decorates the hand of a woman.

In this article, we will provide you with lessons and step-by-step instructions on how to properly build up nails with gel, which gels use during this procedure, what nail design can be and how you can increase gel nails at home, you will find helpful tips for you how to properly monitor the gel nails at home, so that they serve you as long as possible. You will understand that learning this procedure can be obtained without leaving home.
What is gel nail?
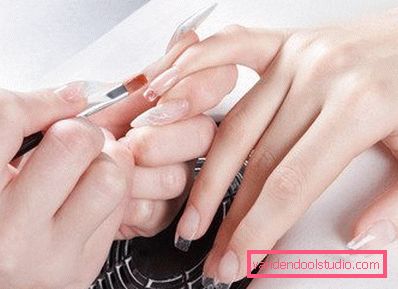
First of all, I would like to briefly describe what the gel nail extension technique is. Gel is a material of medium viscosity, transparent color and practically odorless, which is applied on the nail plate. After the gel is evenly distributed on the nail bed, the hand is sent to a UV lamp (a lamp with ultraviolet rays, which contribute to the polymerization of the gel). Usually, it takes three minutes for the gel coat to harden, but it all depends on the power of the UV lamp. The procedure is repeated three times. If the surface of the marigold was uneven, wavy, then the gel will play an excellent role in leveling the surface of your marigold. Ultraviolet rays of the lamp also have a positive side, as they prevent the appearance of fungus on the nails.
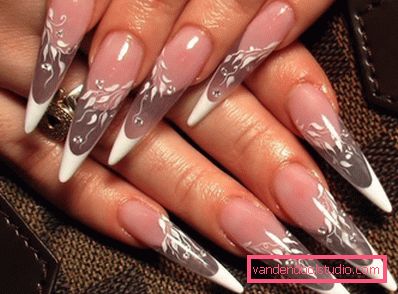
Technique nail gel
There are two technologies for nail extensions with gel - these are nail extensions with gel on forms and extensions on tips. The technique of building up tips — artificial nails — is very simple. They are glued to natural short nails with a special glue, but not along the entire length, but starting from about the middle of this nail, so that they do not look coarse at the base. Next, apply the gel itself in three stages, as described. Be sure to remember that when applying the last layer, you need to apply the finish gel, which will consolidate all your work.
As we have already written, there is another technology for nails with gel on forms. In this case, we need a special stencil. Such stencils can be made of metal, plastic and paper. As for the technology of working with the stencil, then everything is not so difficult either. On the stencil there is a slotted hole, putting the stencil under the nail, so that this hole fits snugly to the free edge of the nail plate. On top of the stencil, apply the gel evenly and thinly, while ensuring that the layer does not extend beyond the edges and remains even. After drying in the UV lamp, the gel will harden and there will be no need in the stencil - it can be removed.
This gel nail extension technology provides one condition: natural nails should not be short, that is, slightly regrown, so that after the end of this procedure, the extended nails look like a continuation of natural ones. Do not forget that in this case a finish gel must also be used to consolidate the entire extension.
Gel nail extension systems
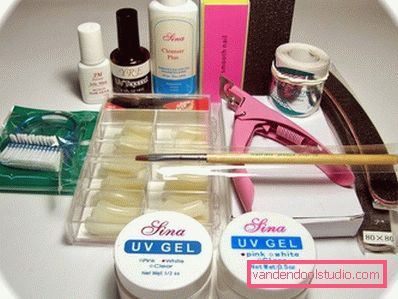
The technology of gel extension implies a two-phase and three-phase system. The two-phase system includes the first component, which is responsible for modeling and adhesion, and the second, which guarantees the strength of the nail. The three-phase system includes three components: the first one adheres to the nail with a gel, the second - models, and finally, the third - gives strength. Gel nail modeling is a very important step in building, since the shape and appearance of the nails depends on it.
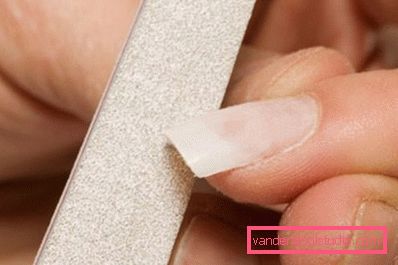
Gels for nail
For modeling use camouflage gel. From the word camouflage - disguise. In other words, the camouflage gel will help the enlarged nails to give a natural color. Such gels have several colors. These are usually shades of light pink and light beige. Camouflage gel creates dullness of the whole marigold. When modeling the build-up of gel on the forms, then this gel is used as a sculptural stage. Also, in some cases, this gel is used as a finish layer.
As for the main gel for building, the choice of firms is huge. For example, gel nail modeling can be done by Irisk. This brand is widely known. Gel Irisk creates a very dense, but at the same time thin coating on the nails. The manicurist most often uses it as the main color in French manicure, also for any design and artistic painting. But the possibility of using it as a modeling or finish gel is not excluded.
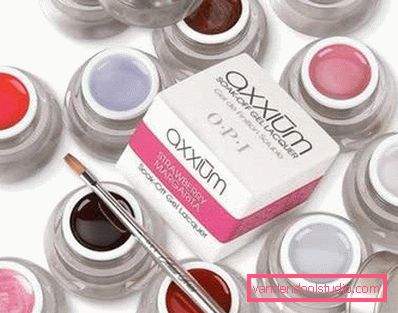
Its application is very simple, unlike ordinary varnish, as this gel dries in a UV lamp. You can also use Millennium Gel and IBD. This is a very popular materials for nail. The consistency is excellent, allowing you to evenly apply it along the entire length of the nail. Recently, many girls are switching to using IBD gel varnish and Millennium gel. It can be used not only when building nails on forms and tips, but also to apply on your short natural nails.
IBD gel has more than forty shades of color and therefore is applied to the nails like a normal varnish, but lasts much longer - about two weeks. At the same time, he not only decorates your short nails, but also strengthens them, makes them stronger and more beautiful. As for the Millennium gel polish system, it is also well and quickly removed, like IBD gel. It is very well suited for strengthening natural nails, as well as for gel extensions. Millennium gel allows you to apply a gel polish with a thin layer that adheres wonderfully. It is almost odorless, which also has a big plus.
Nail art design
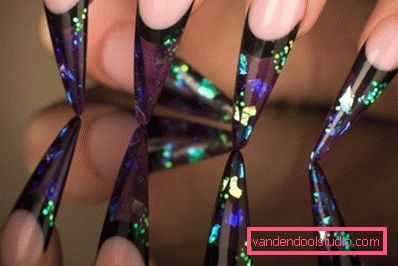
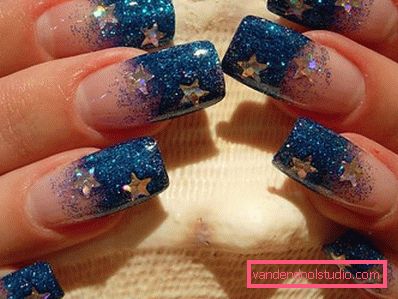
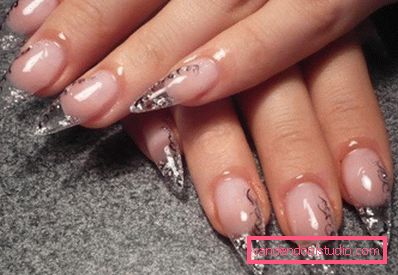
The manicurist may offer you to paint your nails with acrylic paints or other materials for nail art. Such a design will suit everyone, the main thing is to choose light, light tones for this option. Too bright tones will look defiant and only spoil your whole image. You can also apply drawings with a brush or special varnishes. Acrylic paints are applied with a brush. Such drawings will last for a very long time, since acrylic paints are not washed off with water. Drawings can be applied using special acrylic powder and glitter.
Nail design can decorate the addition of crystals of different sizes. Speaking about the materials that create a unique nail design, we can not say about the stained paints. Stained paints create surprisingly beautiful drawings in various styles. And you can make stained glass paints at home. To do this, buy the usual stained glass paints and mix them with gel to build. As for the proportions of colors and gel, it all depends on how bright you want to make patterns and pictures on your nails. The drawing in the stained glass technique always looks original, abstract and different from what was painted with acrylic paints or ordinary varnish.
Nail extension at home
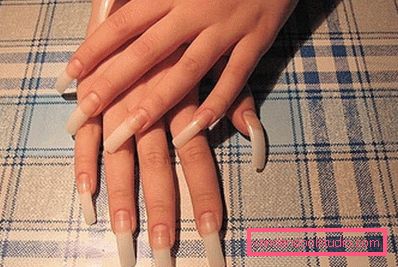
Building nails at home will not make it difficult for you - learning is very simple if you prepare carefully, get lessons from a nail builder, look at a step-by-step photo on the Internet, or study video lessons.
- Purchase all the necessary materials and have patience, since the whole procedure will take you about three hours.
- First you need to prepare your nail: cut off the extra length, degrease with a special tool (you can take IBD degreaser) and sand the surface of the nail, using a special nail file with a stiffness of 180 grit.
- Next, put on the nail stencil (nails on the form) and with a brush, apply the gel.
- Step-by-step drying was described above.
- The last should be a finish gel layer.
- After drying in the UV lamp, use the nail file again, already to give a beautiful nail shape.
- And in the end is applied varnish, stained glass drawings, patterns, etc. That's all, learning is short and understandable, the main thing is not to hurry and do it carefully.
Contraindications to the procedure and care for gel nails at home
- Before you decide to do nails at home, remember that nails must be healthy.
- Carefully clean the cuticles.
- If you are taking hormones or antibiotics, put off the gel buildup until you finish the treatment.
- Having built up gel nails for the first time, try to make a correction twice a month, then once a month. If the nail is broken, caught or sticking out at the base, it is necessary to immediately correct it.
- If you are going to wash, wash the dishes or use detergents - wear gloves. Avoid striking the nails, sudden movements and do not bite them.
- Pressing on the buttons of the phone or keyboard, try to use the pads of your fingers.
- Always monitor the hygiene of your hands and marigolds.
Video: nail extension workshops on tips and forms, gel system
Now you do not have to worry about how to grow nails at home, you know almost everything. But if you want to feel like a real pro, who will unmistakably make nail extensions at home, as well as gel coating of nails, it’s better to contact real masters in training schools, there you will take the necessary courses. For each practical lesson, a step-by-step instruction will be prepared for you, which you will pass from and to with your master teacher. Girls, gel nails, it is undoubtedly beautiful and very comfortable, but try to keep more naturalness in yourself !! Be beautiful