Gel manicure
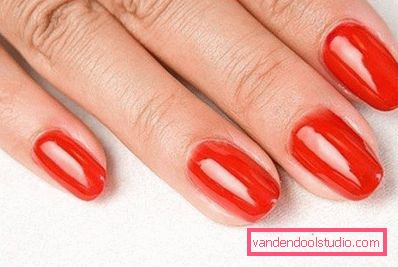
Gel manicure at home is an affordable procedure if you have patience, desire, and a gel manicure kit, which consists of the necessary tools and materials. Why gel technology is gaining popularity, what is required for its implementation and how is the procedure for performing manicure gel? Understand all this will be step by step in this article.
Advantages and disadvantages of gel manicure
Gel manicure is very popular with modern young ladies for several reasons:
- for its implementation, a special bio-gel can be used, which does not contain any harmful components, but only useful ones;
- Biogel helps to strengthen the nail plate;
- gel nails are peculiar "packaging"which helps to eliminate breakage and delamination of the nail bed plate;
- gel nails do not require correction with a nail file, which prevents unnecessary injury to the plate;
- has a diverse color palette and allows you to apply modern elements of decor;
- resistant to abrasion in domestic conditions.
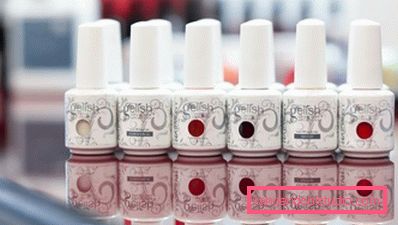
Gel manicure has a very small drawback - it is not able to lengthen the nail, the length of your plate remains natural. In principle, for many young ladies this is not a drawback, since recently the nails of the natural length are fashionable.
A set of tools and materials for gel manicure
In order to make a gel manicure for yourself with high quality and technologically, you need to stock up with all the necessary tools. Such a set can be purchased at a specialty store or form it yourself, buying everything separately. Perhaps the set will seem expensive to you, but in terms of visits to beauty salons and payment procedures, it will still be cheaper. And as a bonus, the opportunity to work with your own hands.
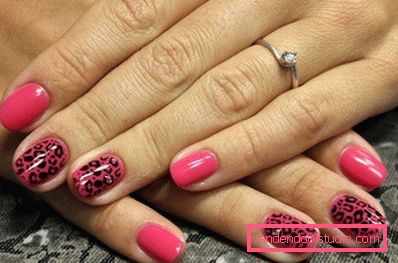
The standard selling set for gel manicure includes:
- UV lamp;
- a set of gels of various shades;
- gel for the base and gel for the topcoat;
- various size brushes for coating;
- orange sticks;
- instructions for using the kit.
Also, for independent work you may need standard manicure accessories and additional materials:
- nail nippers, nail file, scapula, triangular tweezers;
- knipsera;
- cotton wool or cotton pads for processing nail tissue;
- cuticle softener;
- nail polish remover (without fatty components).
The sequence of the procedure
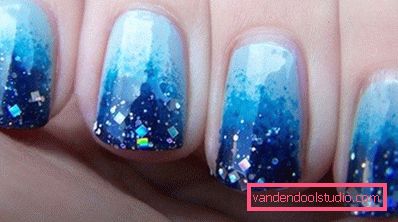
At home, you can start learning gel technology with a monochromatic coating of the nail plate. Before starting the gel coating, you need to fix your nails according to the standard scheme: moisten in the bath, move the cuticles with an orange stick, remove agnails and give the desired shape. Then we proceed step by step to the coverage procedure:
- Clean and degrease the surface of the nails with nail polish remover.
- Apply a base gel (base) on the entire surface of the nail, carefully promayvaya on the sides.
- Dry in the UV lamp for exactly 2 minutes.
- Now you can start applying the gel you need shade, apply the composition as accurately as possible, without going beyond the bed. Try to apply as little gel as possible, because if the layer is too abundant your marigolds will look ridiculous and completely unattractive.
- Dry the nails all in the same UV lamp, until complete polymerization of the composition.
- Wipe the sticky layer with a cotton pad moistened in a degreaser.
- Over your manicure we are going to finish the gel. It is necessary to consolidate the design and add shine.
- The finish gel is also polymerized in a light bulb.
Gel French Manicure
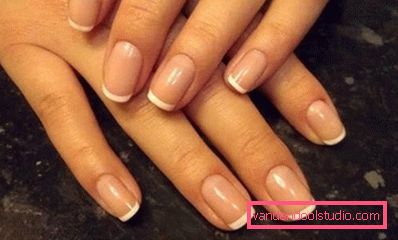
Many women prefer a manicure in the style of "French" or the so-called French manicure. It works without fail in combination with different styles of clothing. Gel French manicure, you can also do yourself.
The sequence of works is somewhat different from the gel manicure with a monochromatic coating. After preliminary preparation of the surface of the nails, grease them with a gel (base). Next, we continue the process this way:
- Using a thin brush with white shellac or a regular gel, draw an arc along the edge of the nail from right to left to the center, i.e. draw a smile line.
- Then from the other side from left to right.
- Dry under ultraviolet light for three to five minutes.
- Apply the final coat finish gel.
- Dry with an ultraviolet lamp.
- Apply the finishing gel, you can a couple of times. After each time, dry with ultraviolet light. By the way, you can make a smile line with the help of special stencils for nails, so your gel polish will not have any manicures.
Gel coating allows you to use other techniques of applying a complex pattern or decorating elements. But if you have never done this yourself, then it is better to consult a specialist. Creating any nail art will require patience, attention and time. If these qualities are inherent in you, then you can safely get to work.